Class Canceled
Creating a GitHub Page
Some Git Terms Explained
- master - This is the main branch of your repository. It is the default branch if you don’t create any others.
- clone - This is a way to copy a repository from a remote location (i.e. GitHub.com) to your local computer.
- commit - To set a save point with a message on your local computer. Only when you sync is it reflected on the remote repository.
- push or sync - To submit your latest commits to the remote responsitory, and sync any changes on the remote back to your computer.
- head - This is a reference to the node the repository currently points. Think of head as the latest node by default.
- branch - This allows you to create a new version of your repository separate from the master branch. As you switch back and forth, the files on your computer are automatically modified to reflect those changes.
- fork - A way to split off a separate version of a repository. You can fork anyone’s code on GitHub.com to make your own version of their code.
- pull request - A request that is made to merge changes that you made on either a fork or branch, into the main code (master branch, or repo’s origin).
- merge conflict - When the same area of a file differs, or is in conflict with another change. It will add some notations of where the conflicts are, and you have to resolve these before proceeding.
Step 1 - Create an account on Github.com
First create a new account on Github.com. You should use your personal email address, as this account will likely stay with you even after you graduate.
Step 2 - Download Github Desktop program
Github offers a free software program that makes it much easier to track your repositories instead of using the command line. Download the Github Desktop program here.
After downloading it, you’ll need to enter your credentials that you created in Step 1.
Step 3 - Creating a new repository
Next, go to Github.com and create a new repository. You should name the repository the same name as your group. You can write an optional description. Note: this will be public.
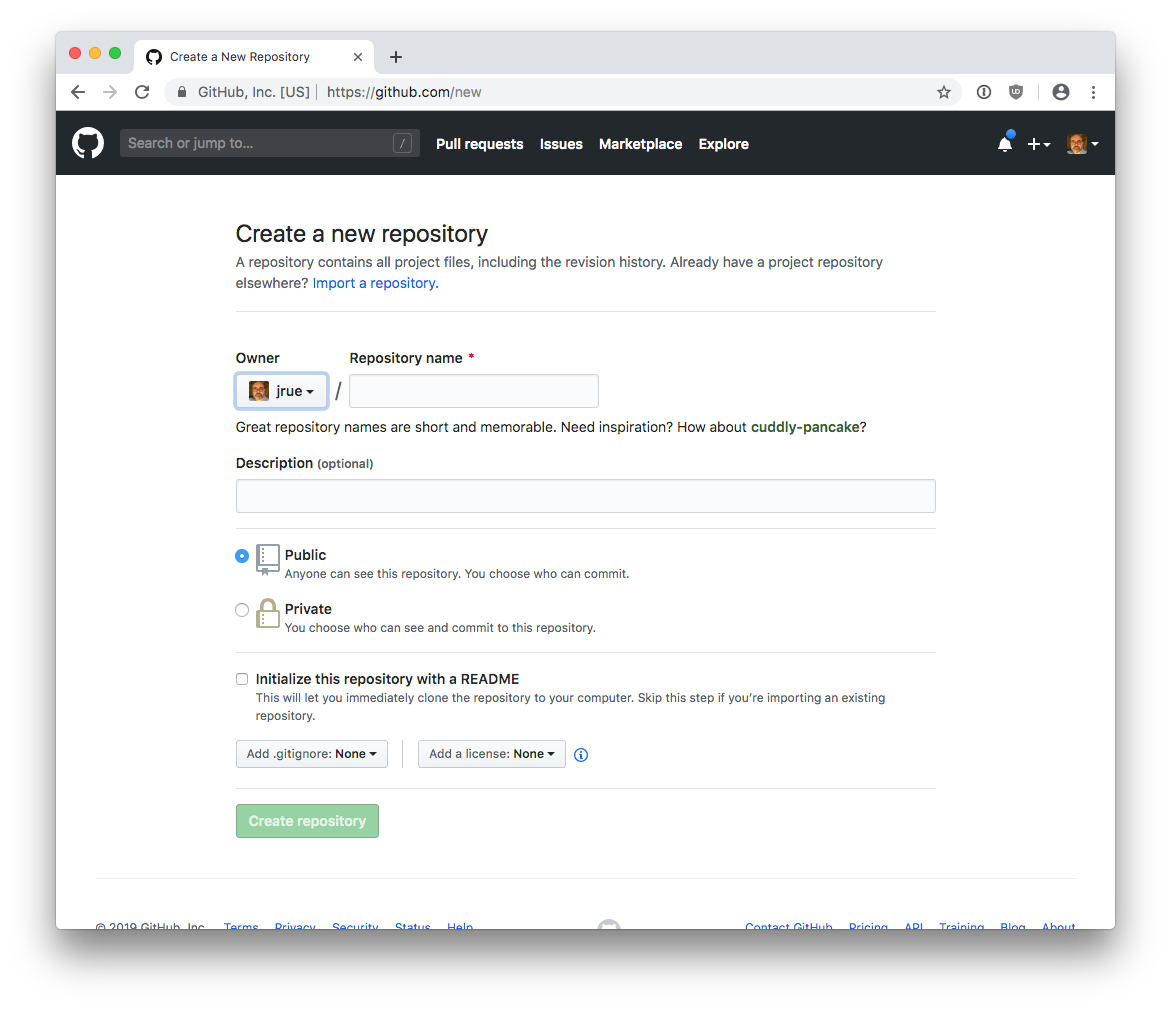
For the “add .gitignore” option, select NODE. This isn’t essential, but will make life easier down the road.
For license, you can keep it to “none,” which means your code is copyrighted. If you want other people to be able to use your code, add a license.
Step 4 - Clone your repository
After you create your repository, click the green “clone or download” button, and it should automatically launch Github Desktop program you downloaded in Step 2. It will ask you where to save the repository. Find a place on your computer, and specify this as the location of your repository. It’s important to choose a permanent place, as moving it later can be a tricky process.
Step 5 - Download HTML templates
I’ve created some HTML starter templates, and will be adding more soon. You can find them here:
https://github.com/jrue/front-end-templates
Download this repository, and then select which folder you want to use. Previews of the templates can be viewed here.
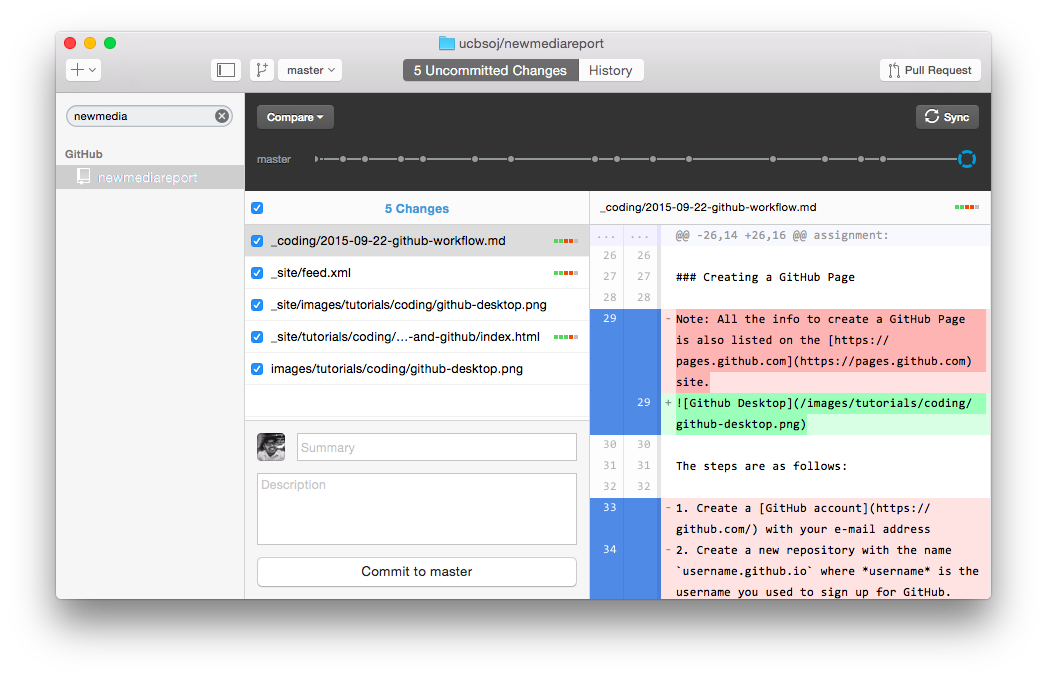
Step 6 - Committing and syncing your code with Github.com
Any changes you make to the local version of your code will not show up on Github.com until your specifically sync with the Github Desktop program. Launch the Github Desktop program, and commit the most recent changes (it will ask you to enter a message). Then click the “sync” button.