Workflow and Github
Creating a GitHub Page

Some Git Terms Explained
- master - This is the main branch of your repository. It is the default branch if you don’t create any others.
- clone - This is a way to copy a repository from a remote location (i.e. GitHub.com) to your local computer.
- commit - To set a save point with a message on your local computer. Only when you sync is it reflected on the remote repository.
- push or sync - To submit your latest commits to the remote responsitory, and sync any changes on the remote back to your computer.
- head - This is a reference to the node the repository currently points. Think of head as the latest node by default.
- branch - This allows you to create a new version of your repository separate from the master branch. As you switch back and forth, the files on your computer are automatically modified to reflect those changes.
- fork - A way to split off a separate version of a repository. You can fork anyone’s code on GitHub.com to make your own version of their code.
- pull request - A request that is made to merge changes that you made on either a fork or branch, into the main code (master branch, or repo’s origin).
- merge conflict - When the same area of a file differs, or is in conflict with another change. It will add some notations of where the conflicts are, and you have to resolve these before proceeding.
Setting up a GitHub repository and Page
- Create a GitHub account with your e-mail address. Make sure you confirm your e-mail address to complete the account setup.
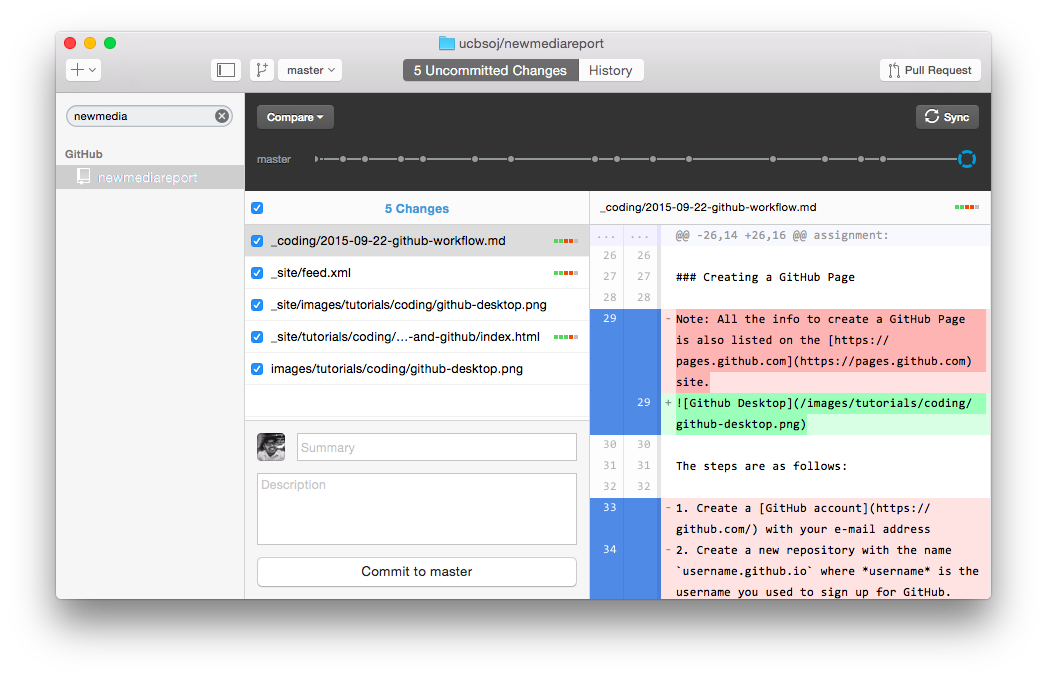
- Download the GitHub Desktop Client (Mac or PC), which will allow you to perform Git functions without using the command line.
- After downloading the above software, you need to authenticate it with your GitHub account in order to allow you to access to your repositories. The GitHub site also contains instructions on how to authenticate your account.
- Configure your local Git e-mail settings to be used when checking out repositories. (Note: this e-mail address can be seen publicly on GitHub.com. If you don’t want to use a public e-mail, you can use
<username>@users.noreply.github.com). Instructions are also listed on the GitHub page. - Next, to create a GitHub page, create a new repository with the name
username.github.iowhere username is the username you used to sign up for GitHub. - Clone the repository to your computer. Once you setup GitHub Desktop, this is as simple as clicking the plus button and searching for the repository you made online, and making a copy of it on your desktop.
- Follow the instructions below for loading a Bootstrap page as your first website.
Loading BootStrap into your GitHub page
Download this sample Bootstrap portfolio I made, and save it into the repository folder on your desktop.
Periodically, make sure you commit your work into your repository.
Using a Jekyll site to run your portfolio
You first have to install two programs: Jekyll and Bundler. These are easy, since Macs come with a package installer called RubyGem, or “gem” for short.
brew install rbenv ruby-builds
Once that completes, add a command so that rbenv launches every time you launch Terminal.
echo 'if which rbenv > /dev/null; then eval "$(rbenv init -)"; fi' >> ~/.bash_profile
source ~/.bash_profile
Next, update you local copy of Ruby:
rbenv install 2.4.1
rbenv global 2.4.1
Next Install Bundler.
gem install bundler
Navigate to where you want to setup your website. One potential location is ~/Sites directory.
git init your_name_portfolio
Next, you need to cd into the directory that was just created.
cd your_name_portfolio
Create a Gemfile with the appropriate Jekyll source.
nano Gemfile
Then copy the following text, and paste it into the editor. After that, press Control + X to exit, and it will ask you to save. Press Y for Yes, and it will then ask you to verify the filename. Press enter to confirm.
source 'https://rubygems.org'
gem 'github-pages', group: :jekyll_plugins